





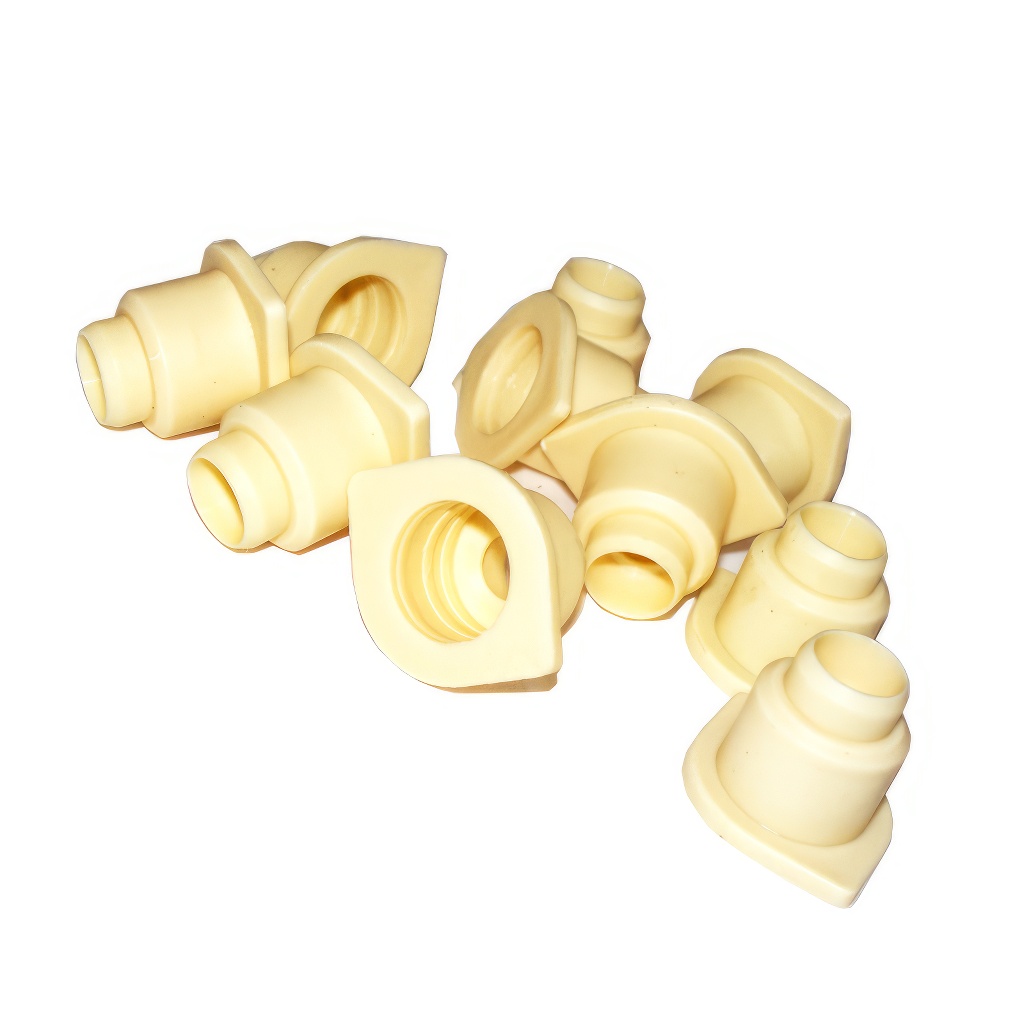

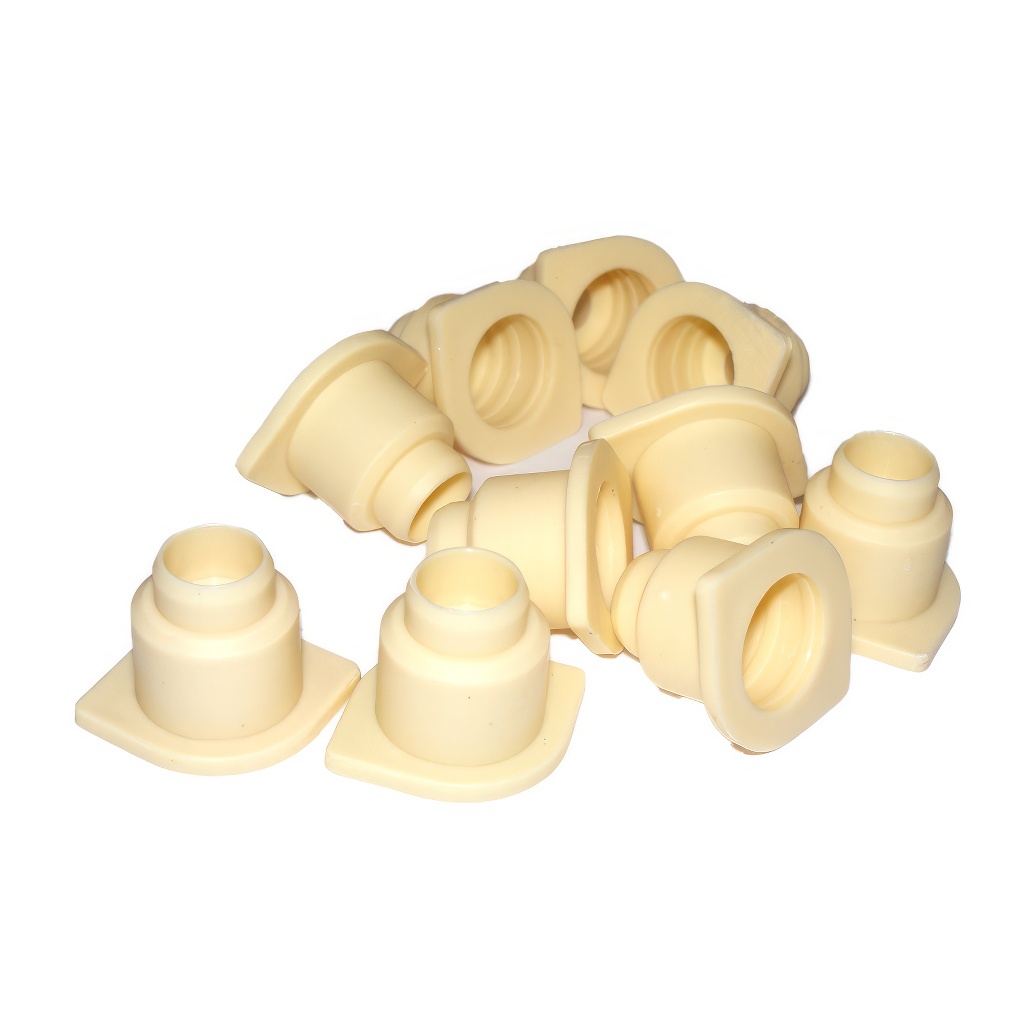
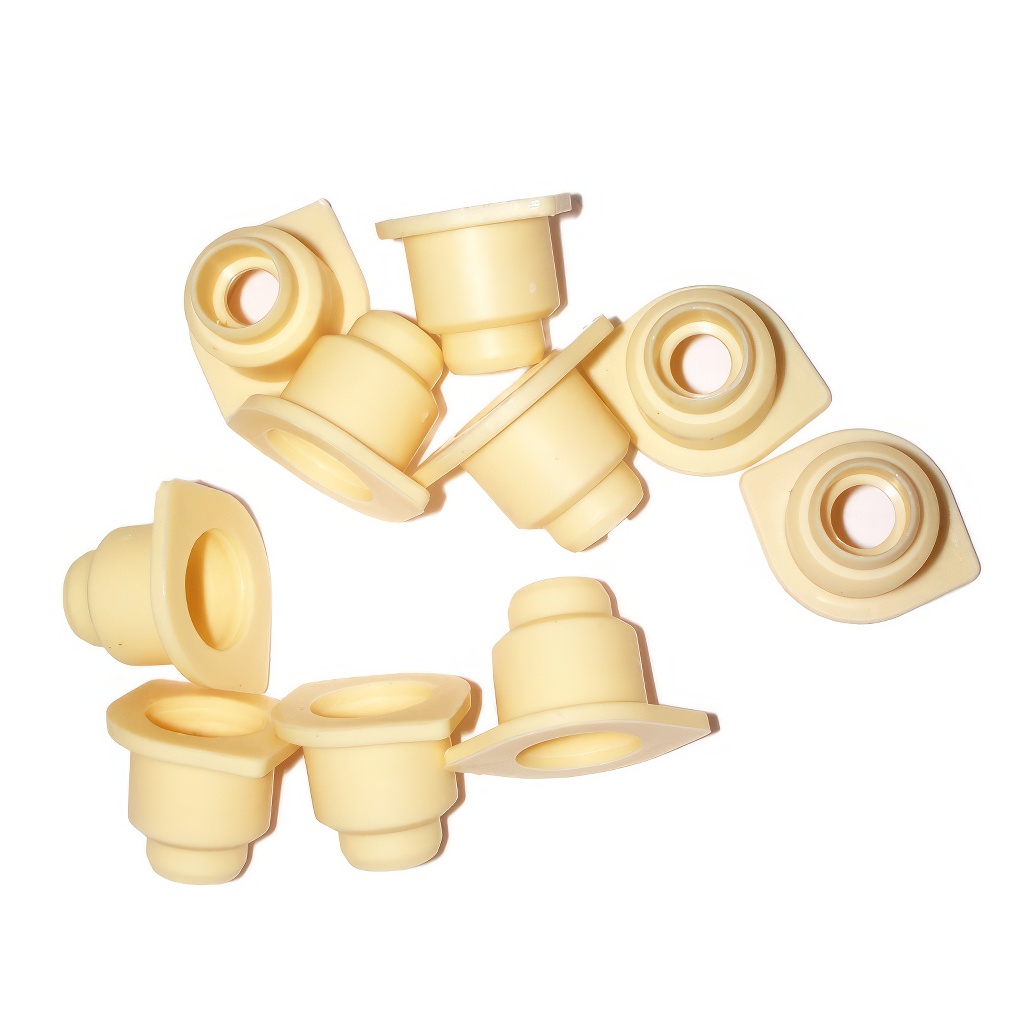
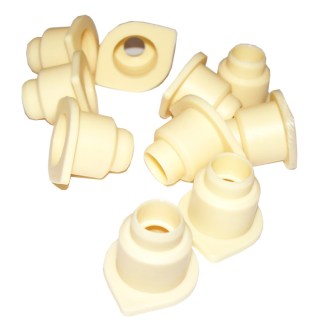
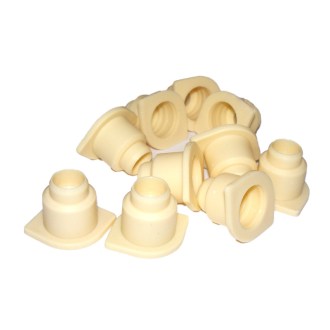
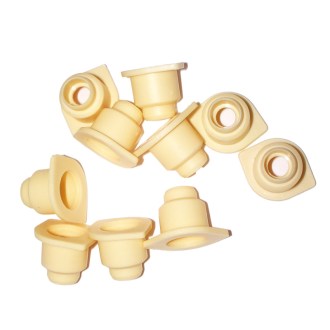
Cell cup holder - 10pcs
 In stock
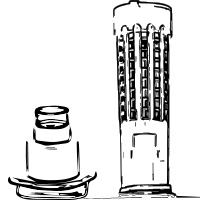
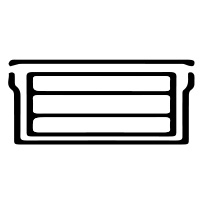
This cell cup holder does just that, it holds the cell cups. When the cells are finished and completely capped, they can be popped off the cell bar holder ...

Queen Cell Cup Holder – 10 pcs
Make queen rearing easier and achieve consistent, professional results. Queen cell cup holders are an essential component of the proven French system that enables efficient queen rearing without manual grafting. They are designed to fit precisely onto queen cell cups removed directly from the breeding cassette, ensuring a quick, clean, and safe transfer of the larva onto the cell bar frame. The package contains 10 pieces – an ideal quantity for one standard rearing series.
Graftless queen rearing: fewer risks, more certainty
The main advantage is the elimination of the most delicate part of the entire process – handling the tiny larva. There is no need for a grafting tool and no concerns about damaging the brood. Simply remove the queen cell cup with the larva from the back of the breeding cassette (frame) and insert it into the holder. The larva remains in its original royal jelly, without unnecessary chilling, stress, or mechanical interference.
Higher-quality queen cells and stronger queens
Because you never touch the larvae during the transfer, their development proceeds naturally and smoothly. The system is designed for precise rearing of larvae aged 6–24 hours – the optimal age for raising high-quality queens. The ivory color also resembles beeswax, which can contribute to better acceptance. The result of this gentle procedure is more vital queens with better potential for strong colonies, good fertility, and consistent performance throughout the season.
Fast operation, secure attachment, and a compatible system
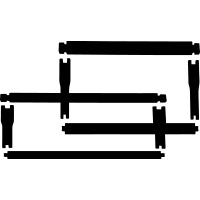
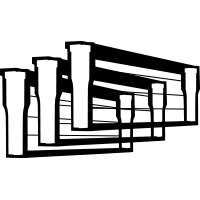
The design is engineered for quick handling, modularity, and time savings. It is appreciated by beginner beekeepers as well as those who find traditional grafting difficult (e.g., due to eyesight or fine motor skills). The cup with the larva is inserted into the holder, which is then firmly snapped onto the base holder (block). The base holder is securely fastened to the cell bar frame – by nailing it with 4 small nails onto the bar at a recommended spacing of 28–40 mm. All individual parts are uniformly sized, mutually compatible, and form a complete rearing system.

Technical specifications
| Product name | Queen Cell Cup Holder |
| Quantity per package | 10 pcs |
| Material and color | Durable plastic (food-grade certified), ivory color |
| Holder dimensions | Diameter: 12 / 17 / 22 mm, Height: 18 mm |
| Purpose and features | For queen rearing using a complete system without the need for grafting |
| Attachment method | Snaps onto the base holder (nailed with 4 small nails at 28–40 mm spacing) |
| Compatibility | All parts (cups, holders, bases) are fully compatible with each other |
| Suitable larva age | 6–24 hours |
Tip for beekeepers: For the best acceptance, we recommend lightly coating the plastic parts with honey water before first use, or placing them in a colony for 24–48 hours so they acquire the hive scent and the bees naturally clean and polish them.
Professional Graftless Queen Rearing System for Easier Queen Breeding
Rearing your own queens gives the beekeeper greater self-sufficiency, better control over genetics, and consistently balanced colony productivity in the long term. This well-designed graftless queen rearing system significantly simplifies the entire procedure and makes queen rearing more accessible even to less experienced beekeepers. It allows you to obtain healthy and vital queens without tedious, delicate work with tiny larvae and without unnecessary stress on the breeding material.
Why choose this system
- No manual grafting: There is no need for a grafting tool or transferring tiny larvae from the comb. This is especially appreciated by beekeepers with weaker eyesight or a less steady hand – the work is faster, more precise, and gentler.
- Uniform larva age under control: You don't have to search laboriously for the "right" larvae or estimate their age. Thanks to the precisely defined laying time by the breeder queen, you obtain larvae of the same age, which often has a positive effect on the quality of the future queens.
- Gentle and safe handling: The larvae remain in the original plastic cell cups – during the work you only transfer the cups. This reduces the risk of damage, drying out, or chilling during handling.
Technical specifications of the system
| System component | Dimensions and specifications |
|---|---|
| Queen cell cup | outer diameter 10 mm, height 10 mm, inner diameter 8 mm |
| Queen cell cup holder | ivory color, diameter 12/17/22 mm, height 18 mm |
| Base holder | base plate dimensions 26 × 22 mm, height 12 mm |
| Queen cage | compatible with the queen cell cup holder, 10 pcs per package |
| Egg-laying cassette | number of cells 110, outer dimensions 130 × 147 mm, thickness including cover 30 mm |
Step-by-step queen rearing guide
- Preparing the breeding cassette: Insert the plastic cassette with the cell cups (110 pcs) into a standard wooden frame. There are several options: cut an opening in drawn comb and screw the cassette to the top bar, embed it into the foundation during wiring, or temporarily attach it to the comb with rubber bands or string. The bees will soon build comb around the cassette themselves and naturally integrate it into the brood nest.
- "Polishing" by the bees: Place the prepared frame (including the transparent cover with queen excluder) into a colony for 2–3 days. The bees will coat the plastic with a thin layer of wax and propolis, conditioning it, giving it the hive scent, and improving acceptance.
- Isolating the breeder queen: Lightly brush the queen excluder side with honey. In a selected gentle and productive colony, locate the breeder queen, insert her through the front opening into the plastic cassette, and close it. The queen cannot pass through the narrow exits, but worker bees can pass through, remain in contact with her, and continue feeding her.
- Checking egg laying: Place the frame in the center of the brood nest between combs with open brood. The queen usually lays eggs across the cassette surface within 2–4 hours. The following day, verify that eggs are present at the bottom of the cells. If everything is in order, remove the front cover, release the queen, and return the frame so the bees continue to incubate the laid eggs.
- Checking the larvae: On the fourth day, remove the frame, gently brush off the bees, and check that the larvae have hatched. After approximately 72 hours, the larva lies at the bottom of the cell in a slight curve; a gentle sheen against the light indicates it is in royal jelly and is being fed.
- Assembling the cell bar: On a warm day (or in a temperature-controlled room), remove the back cover. Remove the plastic cell cups with larvae and insert them into the yellow holders. Then snap these onto the base holders, which you have pre-attached to the cell bars at a spacing of 28–40 mm.
- Placing into the cell builder colony: Transfer the cell bar frame into a prepared queenless colony or into a honey super separated from the brood nest by a solid divider board. Ideally, insert it 30–60 minutes after dequeening, so the bees do not begin building emergency queen cells from their own brood. Place the frame in the center of the brood body, where there is stable temperature, suitable humidity, and plenty of young nurse bees.
- Caging and emergence: On day 14–15 after the egg was laid, cage the mature queen cells by sliding a cylindrical queen cage onto the cell cup holder. Add a small amount of candy (honey-sugar paste) or crystallized honey into the cage as the first food for the young queen, who typically emerges on day 16.