













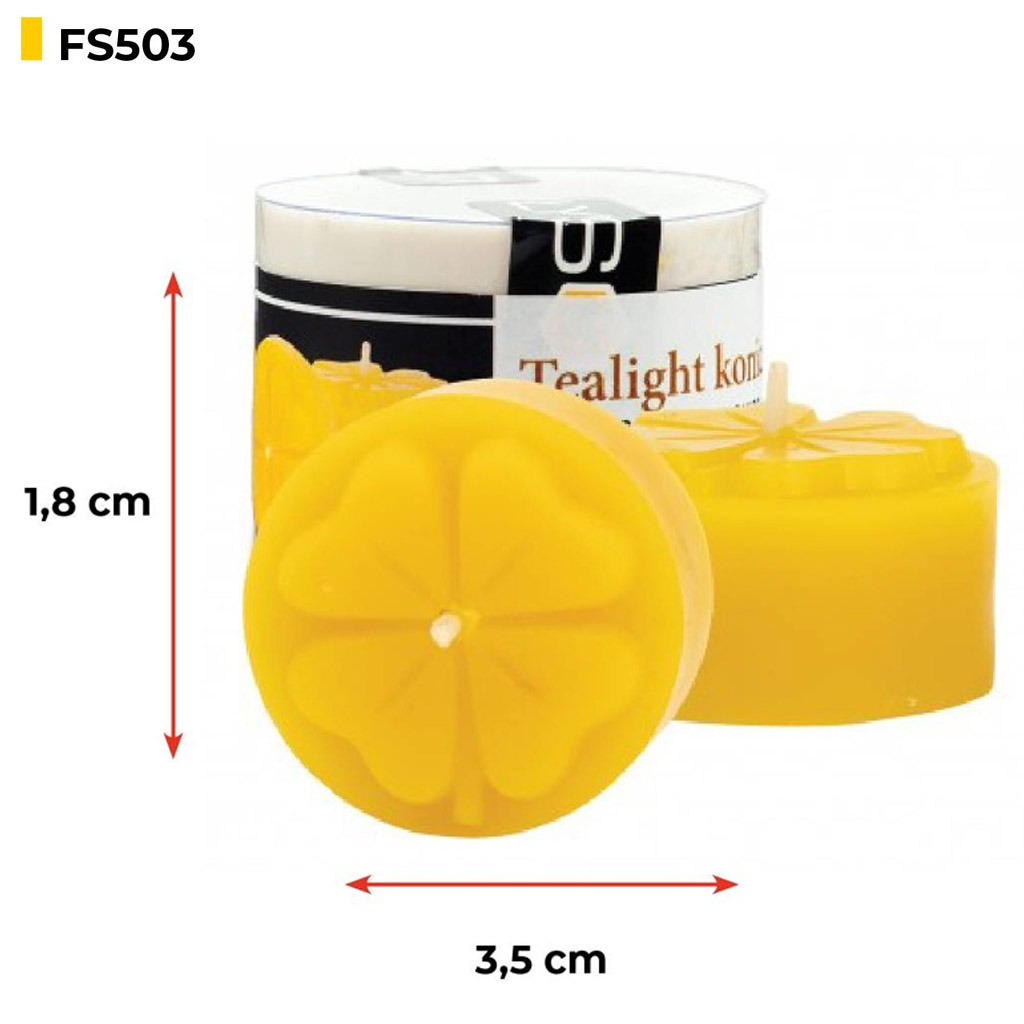
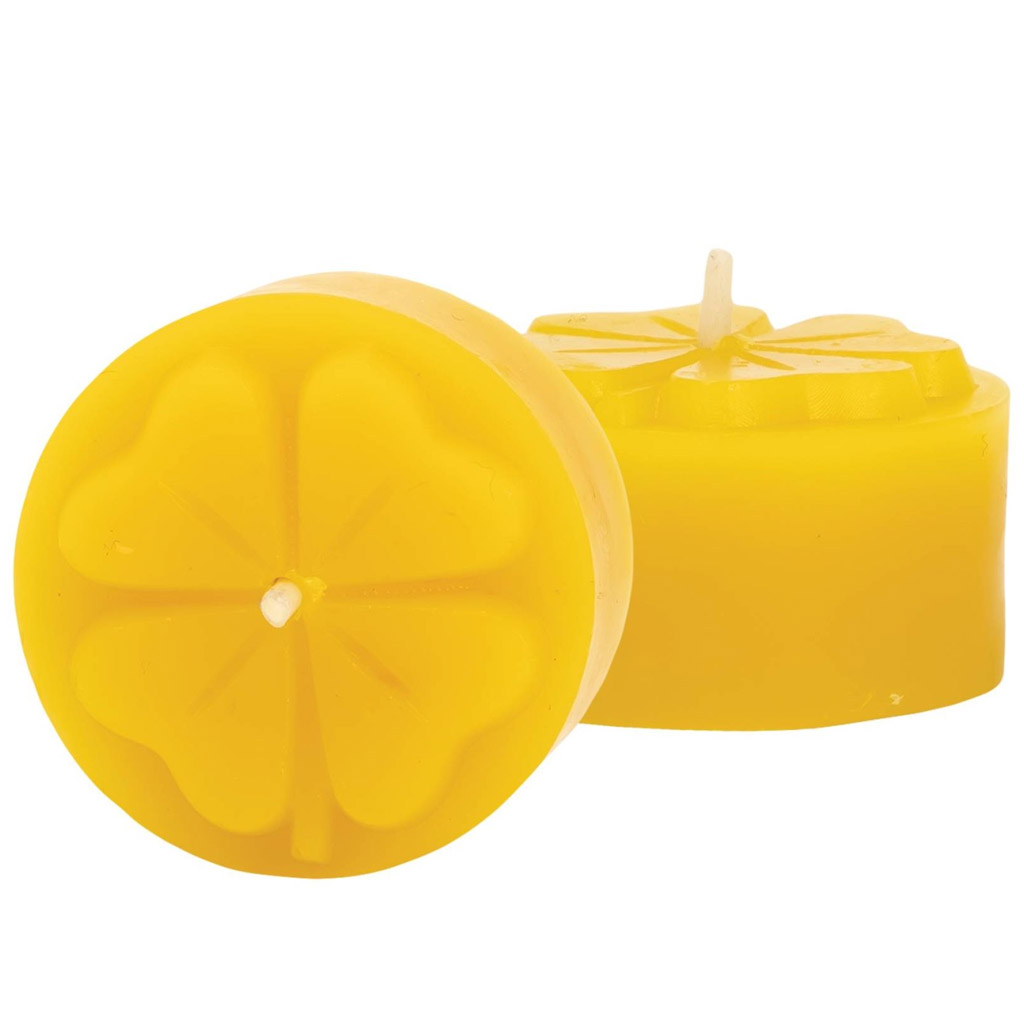


Silicone candle mold - tea light clover - 1.8 cm - FS503
 In stock


Silicone Molds for Beeswax Candles - Tealight Clover - 1.8 cm - FS503
The silicone mold is an ideal tool for homemade beeswax candle making. It is made from durable, high-quality silicone that reliably withstands the high temperatures of molten wax during pouring. Each mold is constructed from a single piece and features a cut for easy removal of the finished candle, as well as for inserting the wick. The molds are designed for repeated use, and with proper care, their lifespan is very long.
These silicone molds are not only suitable for beeswax but can also be used for working with soap, plaster, resin, and other similar materials.
How to Cast Beeswax Candles
Before first use, thoroughly wash the mold, especially if it has been stored unused for a long time. Residual silicone oil may be released, which can be easily removed with soapy water or a cloth dampened with alcohol.
When casting candles, it is important to properly secure the wick. Use a rubber band (or several rubber bands), which are included in the package, to hold the mold together. Round rubber bands are not recommended for conical molds, as they may slip off. For larger molds, it is better to use firm tying with string or use stretch film to reinforce the mold and prevent wax from leaking.
It is recommended to pour the wax into the mold at a temperature of around 65–70 °C (149–158 °F). During solidification, the wax volume shrinks and the wax tends to adhere to the mold walls. The final shape of the candle therefore also depends on the flexibility of the silicone itself. For better results, we recommend piercing the center of the candle during solidification and topping up the resulting cavity with additional wax to ensure a perfect shape without indentations.
With more complex molds featuring hollow details, minor unfilled areas may occur during cooling – especially around prominent protrusions. This problem can be easily solved by first pouring a small amount of wax into these details and only then filling the mold to the desired volume.